
Chest X-rays
Breathe in and hold! Chest xrays are the first xrays that we learn to position!

THE FIRST XRAY THAT EVERYONE LEARNS!
Anatomy
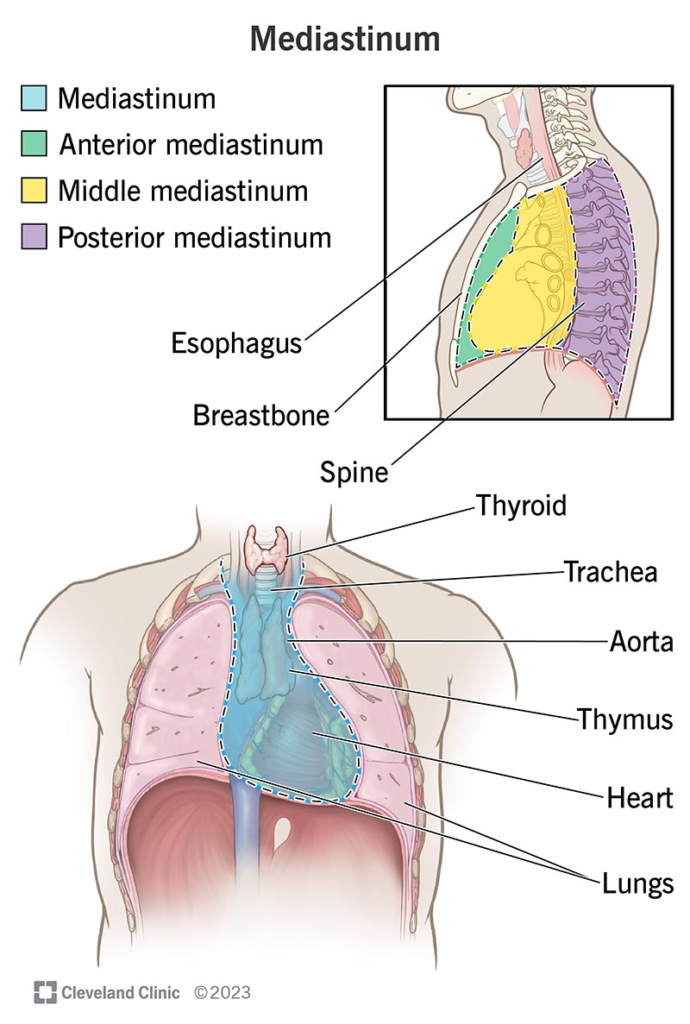
The Chest X-ray (typically the most common) primarily showcases the thoracic cavity, which includes the lungs, heart, diaphragm, rib cage and mediastinum. The mediastinum is the area between the lungs that contains the heart, oesophagus, trachea, thymus, lymph nodes, nerves, fat, and large blood vessels.
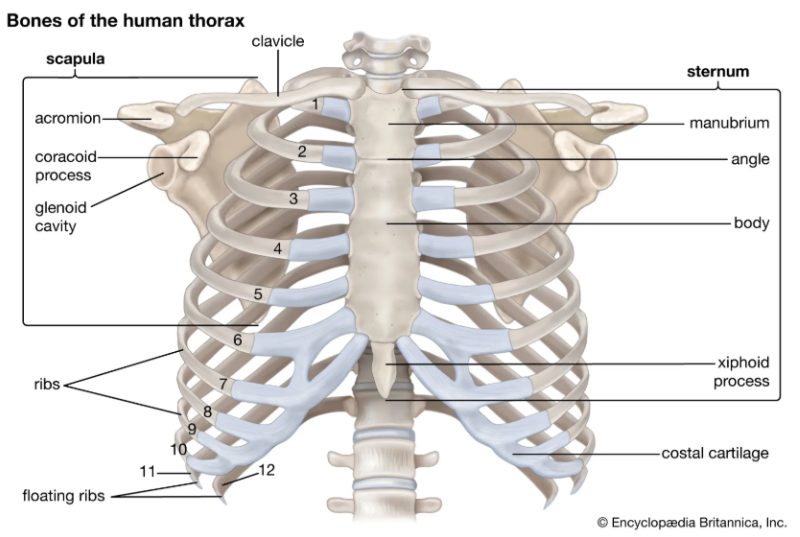
The key anatomical structures in a chest x-ray include the lung fields (the areas at the top of the lungs), the location of the hila (connection of essential vessels to lungs), costophrenic angles 9harp angle where the diaphragm and ribcage meet), trachea and clavicles.
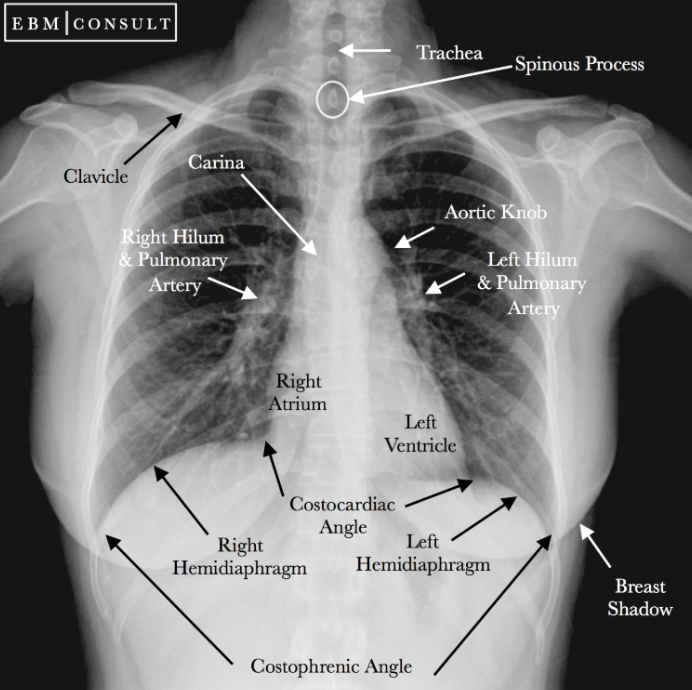
By understanding these anatomical structures, we can identify abnormalities and pathologies.
Most common pathologies:
- Pleural Effusion
- Pneumonia
- Cardiomegaly
- COPD – Emphysema
- Lung Cancer
Positioning
Positioning
PA & Lateral views
For chest x-rays, there are 2 main positions that we do – PA (posteroanterior) and a lateral projection.
- PA View
PA means posteroanterior – which is where the patient faces the tube with their back and their front is touching the bucky.
For a PA view, the patient stands with their chest against the image receptor/board, shoulders rolled forward to move the scapulae out of the lung fields, and chin raised**. The central ray is directed perpendicular to the mid-thoracic level at T7.
**In real workplace setting, most patients cannot place their chins onto the chin rest as it is made for a really tall person, so do not worry about this.

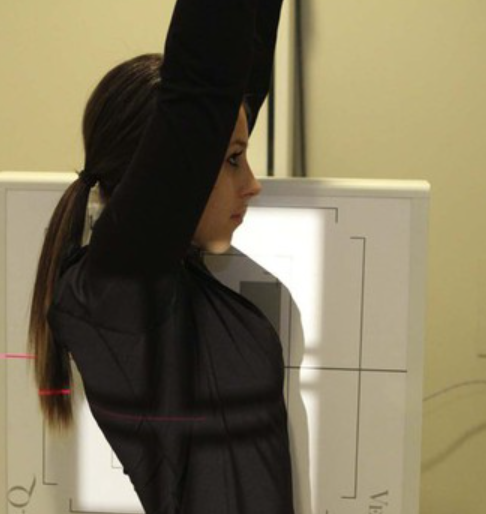
In a lateral/sideways view, it requires the patient to stand with their side against the receptor, arms raised above their head. It is important to raise their arms above their head as it minimises any distortion.
You can also use a bar and get the patient to hold with both hands for stability and reduction of motion.
Take a watch this video for a futher explanation:
Final Thoughts
Now you can finally breath out!! Positioning for chest x-rays requires precision and practice, but mastering the techniques will set you apart as a skilled radiographer. Always remember: the quality of your image directly impacts the accuracy of the diagnosis. By paying attention to positioning, anatomy, and evaluation criteria, you’ll ensure the best possible outcome for your patients.
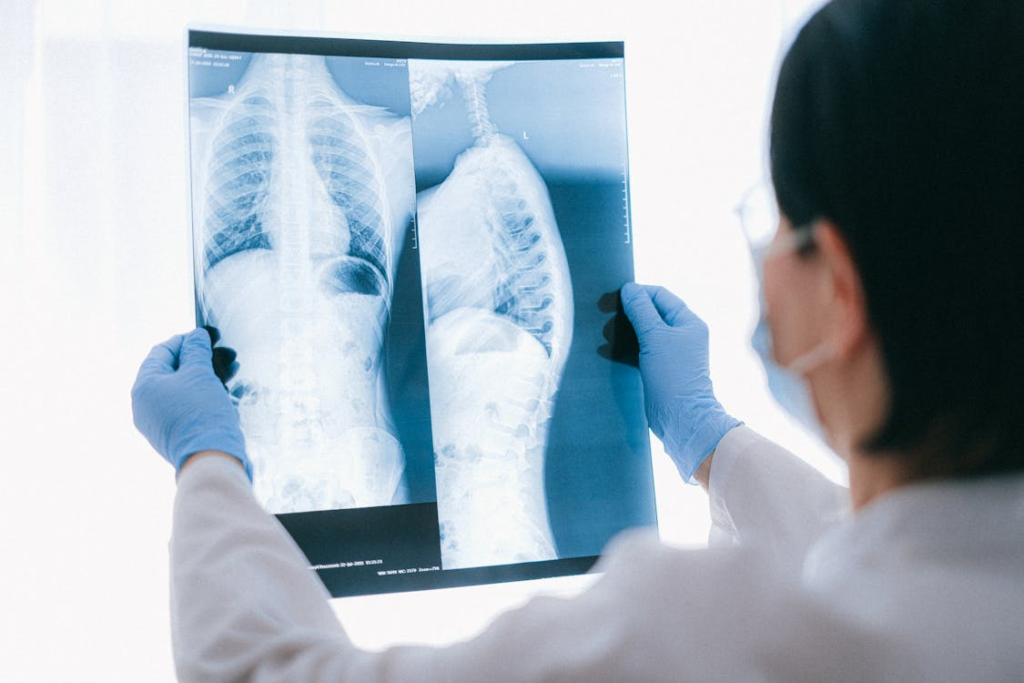
Image References:
Mediastinum Diagram – Cleveland Clinic
Ribcage – Encyclopaedia Brittania
Chest X-ray – EBM Consult
PA view – Radtechonduty.com
Lateral view – Clover Learning